Thursday, May 31, 2012

zip and unzip in linux


To zip the directory, use the following command

         zip <archivename> <directoryname>

We dont need to mention the .zip extension with archive name.

Eg: zip myarc myfolder
We can see the myarc.zip file in the directory

To deploy the directory and sub directory, use the following command
 
         zip -r <archivename> <directoryname>

To unzip the archive file, use the following command,

         unzip <archivefile>.zip

Friday, May 25, 2012

Configure Apache HTTP Server in Linux


To configure the apache http server linux, please do the following steps.

1. If you are not installed apache http server in linux, please follow the link for the installation.

http://mye20.blogspot.in/2012/05/install-apache-http-server-in-linux.html

2. Go to the directory, /usr/local/apache/conf

3. Edit the httpd.conf file and search the below entries,

ServerRoot
DocumentRoot

4. We can follow with default entries of ServerRoot and DocumentRoot, or we can configure the path.For that edit DocumentRoot and add the new values.

ServerRoot "/usr/local/apache"
DocumentRoot "/usr/local/apache/htdocs"

5, Put some image (sat a1.jpg) in htdocs directory and access the URL : http://<hostname>/a1.jpg
   If you are able to see the image, then the configuration is success.

Install Apache HTTP Server in Linux


Install Apache HTTP Server in Linux

To install apache http server in linux, please follow the below steps.

1. Download the apache file from the below location.

http://linux-files.com//httpd/httpd-2.2.22.tar.bz2

2. Copy the httpd-2.2.22.tar.bz2 file in to the destination folder

Eg: /u01/apache/httpd-2.2.22.tar.bz2

3. Follow the below commands to install apache
# tar -jxvf httpd-2.2.22.tar.bz2
    # cd httpd-2.2.22
    # ./configure --prefix=/usr/local/apache --enable-module=so
    # make
    # make install
4. To start the apache server,
#cd /usr/local/apache
#apachectl start

Check the http://<hostname>/ in browser and you will get a text 'IT Works'.

5. To stop the apache server,
#cd /usr/local/apache
#apachectl stop

Tuesday, May 22, 2012

Remove the disk from existing Virtualbox Image


If we have a requirement of removing the existing disk from the Virtual box image running, please follow the below steps.

1. Start the Virtual Box image and login with root user.
2. Open a terminal, and type the command
                   df -h
which will give the mount points. Remove the mount point using the below command
                   umount <mount point>

    Eg: umount /u02

3. Check the entries of /etc/fstab. Take the backup of the file first.
   If we are able to see the same mount points in /etc/fstab file, please remove the line with the mount point
          vi /etc/fstab
          Move to the line which you need to remove.
 press Esc key and then press the key 'd' twice
          Save the file
4. shutdown the VBox image
5. Open the settings window of the VBOx image and go to the storage option. Remove the disk.
6. Start the Virtual Box image again.

Sunday, May 20, 2012

Configure Webcenter Content with Webcenter Portal PS5

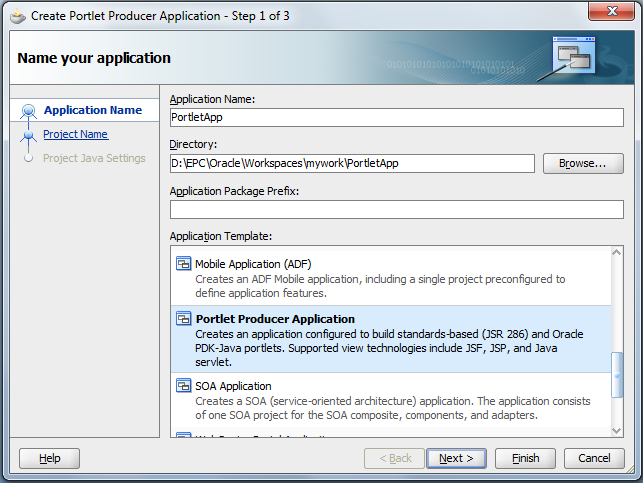
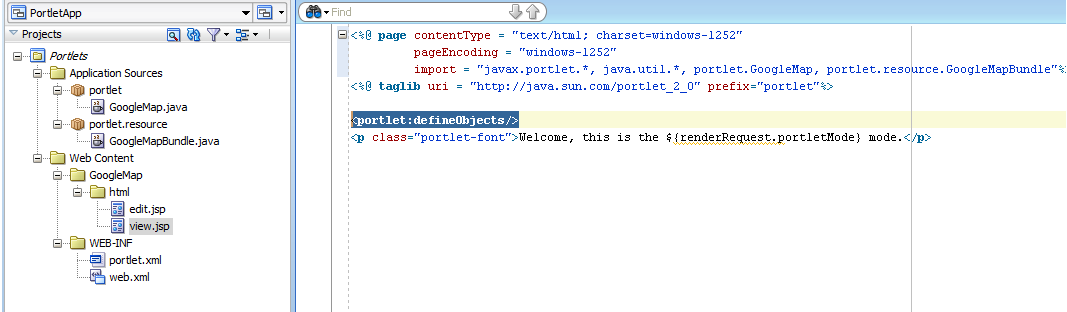
Hi friends, I tried to connect webcenter content PS5 (UCM) with Webcenter Portal Framework PS5 using Jdeveloper11.1.1.6.


I opened JDeveloper, created a content repository connection with all the required fields. While testing the connection, the connection became successful. But while navigating to the Webcenter Content Connection, I am getting the following error.


SEVERE: Could not list contents of folder with ID = dCollectionID:-1
oracle.stellent.ridc.protocol.ServiceException: No service defined for COLLECTION_DISPLAY.


To solve the issue, please find the following the steps in Webcenter Content.

1. Login into webcenter content : https://<hostname>:<port number>/cs
2. Click on 'Administration' and select 'Admin Server'


3. This will open a new window in browser, please select 'Component Manager'.
4. In the right side window, please click on 'Advanced component manager'

5. We can see all the enabled and disabled features.

The main problem for this error is folders_g is not enabled and Framework folders might have enabled. But for creating a connection with webcenter portal framework or with webcenter spaces, we need
folders_g, then only we will get Contribution folder.

6. come to the enabled feature session, select Framework folders and disable it.
7. Come to the disabled feature session, select folders_g in the list and enable it.
8. Restart the Webcenter content node.
9. Login into webcenter content system, go to 'Browse Content' menu. If we are able to see 'Contribution Folder' the problem is solved. We can configure webcenter content with Webcenter portal framework or with webcenter spaces.


Saturday, May 19, 2012

Enable Java in Firefox - Linux

This is a very common known issue that Firefox browser in Linux is not able to identify the java installation and hence we could not open java applets using Firefox browser.

There are multiple ways are available to enable java in Firefox browser. I am listing the very basic simple way to achieve the functionality here.

1. Open Firefox browser and locate preference/options menu. (Tools--> Options / Edit-->preferences)
2. Go to 'contents' tab.
3. Select 'Enable Javascript' check box.
4. Install Java (jdk) in Linux if it is not already installed.
5. Locate the below file under the java installation directory.
  libnpjp2.so


you can use the below command for locating the file,
                                      locate libnpjp2.so


Most probably the file can be find in the below directory,
<java installation directory>/jre/lib/i386/libnpjp2.so


Eg: /u01/Oracle/Middleware/jdk160_24/jre/lib/i386/libnpjp2.so


6. Locate Firefox installation directory.
7. Go to 'plugins' directory under the Firefox installation directory. You can use the below command to display only the directories,
                                     ls -lrt|grep ^d


 8. if the 'plugins' directory is not available under the Firefox installation directory, please create a plugins directory.
                                   mkdir plugins
Move to plugins directory
                                   cd plugins
9. create a soft link inside plugins directory to the libnpjp2.so file. Use the below command to create the soft link.


ln -s <java installation directory>/jre/lib/i386/libnpjp2.so


Eg: ln -s /u01/Oracle/Middleware/jdk160_24/jre/lib/i386/libnpjp2.so

10. Restart the Firefox web browser

Display all the directories under a directory in linux

If we are using ls -lrt , which will display all the files and directories with user permission, group permission size etc. But if we have a directory with a lot of files and sub directories, then we can use the below command to display only directories under a directory

ls -lrt|grep ^d

Wednesday, May 16, 2012

Install JDeveloper in Linux

To install JDeveloper in Linux, we can proceed in two ways.

Download generic jar for installing or download specific os supported native file (like rpm or bin )
1. Generic Jar
Download generic jar
run the jar file with the following command,
java -jar <jdevinstall.jar>

2. OS specific file
Download <jdevinstall>.bin file from oracle site
chmod +x <jdevinstall>.bin

This will start the JDeveloper installer window and continue the installation.

Start JDeveloper in Linux

After installing JDeveloper in linux, please follow the below steps to start JDeveloper.

1. Go to <JDeveloperMiddlewareHome>/jdeveloper/jdev/bin
     We can find a script, addjdevtodesktop.
     Make executable the script by chmod +x addjdevtodesktop and run it. This will create a jdeveloper icon in   the Desktop.

or

2. Go to <JDeveloperMiddlewareHome>/jdeveloper/jdev/bin
    ./jdev
   This will start the jdeveloper

Tuesday, May 15, 2012

Webcenter Portlet Producer Example

I have created an html portlet application and registered in webcenter spaces. Please find the steps given below.

HTML Portlet Development.   


1. Create a Portlet producer application in JDeveloper.


2.    Create a Standard based Java Portlet.

3.        Edit view.jsp, and add the required code


4.    Run the application(Right click view.jsp and select run) and get the webservice path from the application url.


 http://127.0.0.1:7101/PortletApp-Portlets-context-root/


 http://127.0.0.1:7101/PortletApp-Portlets-context-root/portlets/wsrp1?WSDL


 5.      Login into webcenter spaces portal with admin user and click on Administration/Admin link. Go to configuration tab and select portlet producer.
Register the portlet application using above wsdl url as a wsrp portlet. After registering the portlet, the portlet will be available in resource catalog.
Edit the spaces page and click on Add contents, navigate to the portlets repository folder and add the portlet in to page.