Oracle HTTP
Server is a webserver component for Oracle Fusion Middleware Architecture,
which is based on Apache Webserver.
Oracle HTTP Server 11g Release – 11.1.1.7.0 is based on Apache 2.2.22
and added the modules prepared by Oracle. Oracle HTTP Server 12c Release –
12.2.1 is based on Apache 2.4.
We are
discussing Oracle HTTP Server installation and configuration in this post. We
can install and configure Oracle HTTP Server in two modes: Standalone mode and
WebLogic enabled mode.
In this post,
we are covering WebLogic enables mode on OHS 12c which is called Collocated
Mode.
Installation
Steps:
Step 1:
Install Java
Step 2:
Install Oracle Fusion Middleware Infrastructure
Step 3: Install
Oracle HTTP Server
Step 4:
Create WebLogic Domain with Quick Config
Step 5: Update
domain with Config
Step 6: Start
Admin Server
Step 7: Start
Node Manager
Step 8: Start
Oracle HTTP Server (EM console & Command Prompt)
Now, we will
cover each step in details.
Before
starting with any installation, we need to prepare an operating system user for
application installation, configuration and server maintenance. I have used
Oracle Enterprise Linux 6.9 operating system and created a Virtual Machine in
Oracle Virtual Box. Below commands will create the operating system user.
Execute below commands with root user privilege.
groupadd -g 1000 oinstall
useradd -u 1100 -g oinstall oracle
passwd oracle
Create
application directory with root user and assign the directory access to oracle
user.
cd /
mkdir u01
chown -R oracle:oinstall /u01/
chmod -R 775 /u01/
Also, we need
to install operating system libraries for Oracle HTTP Server installation and
configuration. Execute the command with root user.
yum install binutils-2.20.51.0.2-5.28.el6
yum install compat-libcap1-1.10-1
yum install
compat-libstdc++-33-3.2.3-69.el6
yum install gcc-4.4.7-18.el6
yum install gcc-c++-4.4.7-18.el6
yum install libaio-devel-0.3.107-10.el6
yum install openmotif22-2.2.3
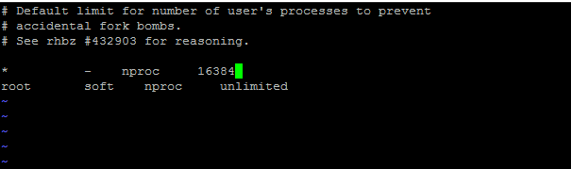
We need to
edit the 90-nproc.conf file change the soft limit for the number of user
processes.
cd /etc/security/limits.d/
vi 90-nproc.conf
Once above
pre-requisites are completed successfully, we can start the installation steps.
Step
1: - Install Java
Oracle Fusion
Middleware 12c required Oracle JDK with 1.8, and we are installing jdk1.8.0_131.
Login with
oracle user and copy the files to the installation directory.
File :
Extract the
Java Package to create the JDK directory.
ls jdk-8u131-linux-x64.tar.gz
tar –xvzf jdk-8u131-linux-x64.tar.gz
Java
Installation package will be extracted and jdk1.8.0_131 directories will be created with Java
Framework. Once Java installed, set the JAVA_HOME and PATH environment variable
in .bash_profile file.
cd /home/oracle/
vi .bash_profile

Save the file
à Logout oracle user à Login again.
Step
2: Install Oracle Fusion Middleware Infrastructure
Go to
software installation directory where the installer files are copied.
cd /u01/sw/
ls fmw_12.2.1.2.0_infrastructure_Disk1_1of1.zip
unzip fmw_12.2.1.2.0_infrastructure_Disk1_1of1.zip
/u01/sw/jdk1.8.0_131/bin/java -Xmx1024m -jar fmw_12.2.1.2.0_infrastructure.jar
Create the
Oracle Fusion Middleware Home directory
cd /
mkdir -p /u01/app/oracle/product/fmw12c


Step
3: Install Oracle HTTP Server
Go to
software installation directory where the installer files are copied.
cd /u01/sw/
unzip ofm_ohs_linux_12.1.2.0.0_64_disk1_1of1.zip
./ohs_121200_linux64.bin


Step
4: Create WebLogic Domain with Quick Config
Fusion
Middleware 12c – Weblogic domain creation require the database schema. But,
below steps helps to configure the domain without schema and it will be applied
only for development environment.
cd
/u01/app/oracle/product/fmw12c/oracle_common/common/bin/
export QS_TEMPLATES=/u01/app/oracle/product/fmw12c/wlserver/common/templates/wls/wls_jrf.jar
./qs_config.sh
This will
enable the quick start configuration wizard


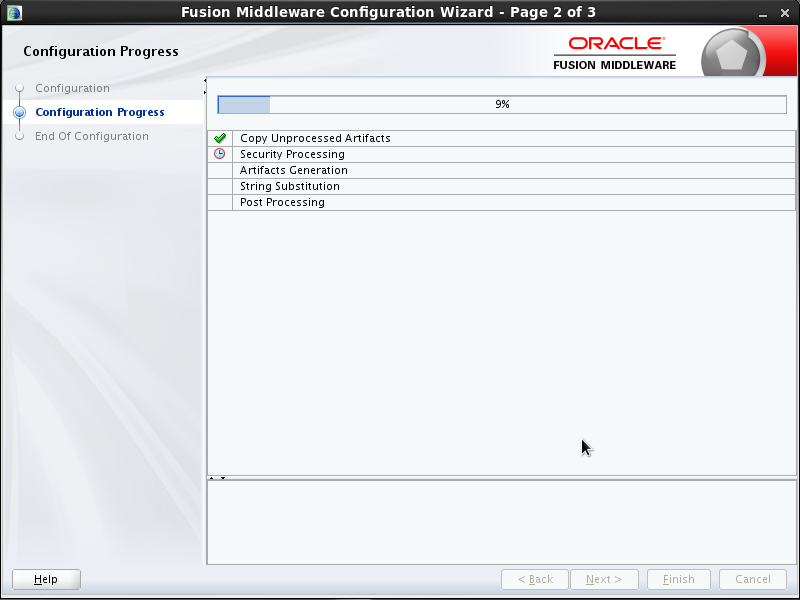


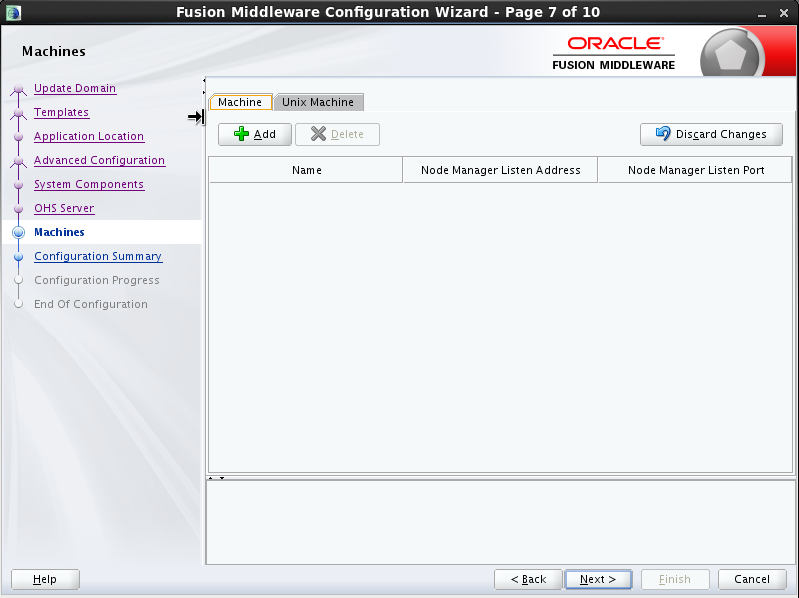
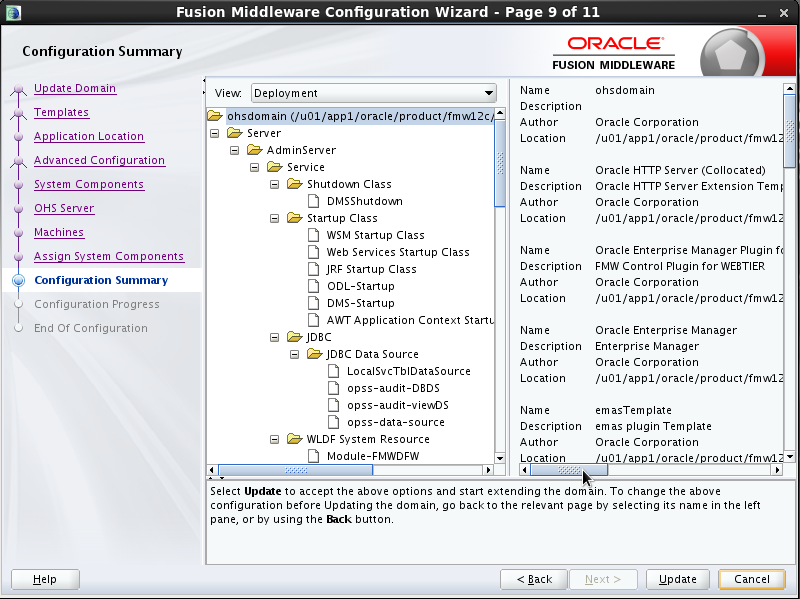
Step
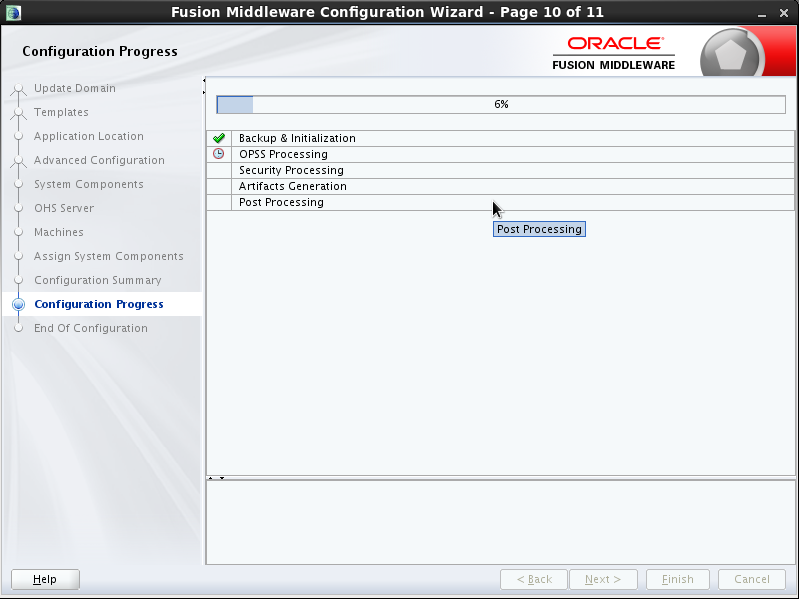
5: Update domain with Config
Once the
domain is created with qs_config, we can run config.sh and update the domain
for Oracle HTTP Server.
./config.sh


Step
6: Start Admin Server
Start the
Admin Server
cd
/u01/app1/oracle/product/fmw12c/user_projects/domains/ohsdomain/bin/
nohup ./startWebLogic.sh >
AdminLogs.out &
tail –f AdminLogs.out
Step
7: Start Node Manager
Start the
Node Manager
cd
/u01/app1/oracle/product/fmw12c/user_projects/domains/ohsdomain/bin/
nohup ./startNodeManager.sh > nm.out
&
tail -f nm.out
Step
8: Start Oracle HTTP Server (EM console & Command Prompt)
Start the OHS
via EM console


Start and
Stop OHS via command prompt
It required
node manager password to start or stop the OHS system component.
Start the OHS
system component
cd
/u01/app1/oracle/product/fmw12c/user_projects/domains/ohsdomain/bin/
./startComponent.sh ohs1
Stop the OHS
system component
cd
/u01/app1/oracle/product/fmw12c/user_projects/domains/ohsdomain/bin/
./stopComponent.sh ohs1
Thanks :)
ReplyDeleteI feel really happy to have seen your webpage and look forward to so many more entertaining times reading here.Same as your blog i found another one Oracle Fusion Financials.Actually I was looking for the same information on internet for Oracle Financials Cloud and came across your blog. I am impressed by the information that you have on this blog. Thanks once more for all the details.
ReplyDelete